Armature Victory

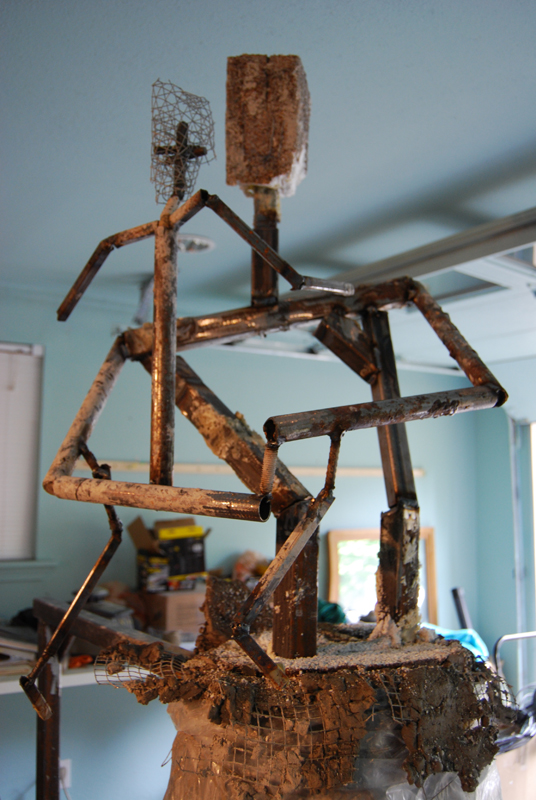
I discovered soon into sculpting that the armature had been welded together wrong. It was 3-4 inches short in height in places (arms and child) and his torso wasn't twisted enough. The gesture is extremely important to me since it really is the essence of the piece. How the person stands, carries them self, and holds the child depicts what they feel about themselves, what they are thinking, and their philosophy on life. St. Anthony always seemed to me a person of great intellect who was well grounded in his knowledge of the word of God and had a presence about him. How he held the child was everything to me.

SO....he got ripped apart down to his waist, cut apart and re-welded. Next time I am welding the armature myself, and not having somebody else do it.

Left: Before (wrong locations)

Right: After (correct locations..notice how the child is held farther on his right)

It is hard to tell in these pictures, but if an armature is an inch or more off in places that are critical like his hands and feet, then you are fighting against your armature the rest of the time! It isn't worth it.

I'm now back on track. I'm using lasers to plot the spacial points.

Roughing in Clay

This was the first day of putting clay on. I put on 250 lbs of clay and ponded it really hard with a wooden paddle to get it to adhere and go through the wire mesh. You don't want air pockets or places where the clay isn't solid, so it takes a while. I was really tired by the end of the day, but it was a beautiful 80 degree day and it felt like summer had finally arrived.

Later on I will start shaping and working the gesture, but for now this is a great start. (Commission for St Anthony Hospital, Gig Harbor)

A Day in May

Today I had a visit from Mrs. Jan Liepman's Class of six high school art students from Harbor Christian Schools. I enjoyed showing them the process of sculpture and explaining the process of getting a commissions through the design and research phase up to building an armature in the life size. There is always so much to cover in Sculpture, but the class seemed to enjoy their new found knowledge of the process.

Above: I made some new tools. The five smaller ones are made of Teak and the larger ones are made of Afromosia I needed some new and larger tools for working on the life-size.

Building the Inside

Above: I added a piece of plywood (not visible) as a base to begin stacking the blocks of Styrofoam on. You can see my rulers sticking out every where as I try to determine the bottom edge of the robe.

Here begins the building of the insides with blocks of styrofoam. This has to be done before you put clay on because it will make the piece lighter, easier to move, and you will use less clay. It is also helpful to attach the clay without it falling off or sagging. The goal it to build the styrofoam allowing 2"-3" of clay to be added.

Commission for: St. Anthony Hospital, Gig Harbor WA

I finally have the blocks of styrofoam glued up to the head now. I used "good stuff" and bbq skewers to help hold the pieces together as the glue dried.

Above: I (Mardie) am shaping in the gesture using a sheet rock knife and a few other tools. I kept the permanent marker handy in my pocket to mark out the waist and locations that needed to get shaved. It is easy to forget that it needs to be a 2-3 inches from the surface. It looks so bizarre!!!...but I can't wait to get clay on....just a few more steps..

Hot wax gets applied to help bond the clay and prevent pieces of Styrofoam from being everywhere. Then St Anthony & Child get loaded into the truck for the ride from the Bronze Works to my Gig Harbor studio. Oops..looks like his head had to come off to fit! Good thing we made it that height to fit in the studio.

My family's "Big White" vehicle comes in handy when you are a sculptor.

Now the sculpture is ready for some clay! (wrapped with wire mesh)

My Gig Harbor Studio with the recent arrival of the armature that evening.